This weekend my nibling and nephew (aged 9 and 11) came to spend some time with us in the garden.
Gardening with kids is one of those things that, if you get it wrong, you can put them off gardening for life. Make it too boring or hard, and they may never want to do it again. Give them the opportunity to have fun while learning, and perhaps they will look back on that experience in a positive light. Even more hopefully, they may decide to take up gardening themselves one day.
We knew they were coming for a finite time, so my husband and I brainstormed a little about what we could get them to do. The activities had to be safe, first and foremost, and engaging enough to keep two kids occupied for a couple of hours. My garden is a large, working, productive veggie patch. While I do have flowers in the garden, and while I think it is beautiful, it is not really a place devoted to decorative plants. Kids often think ‘flowers’ when they think ‘garden.’ That might be disappointing for some kids. I did consider popping out to the nursery to buy some flowers for them to plant, but I ran out of time. These two kiddos know my patch pretty well though, so I thought they would be OK not planting flowers. In fact, they might have been disappointed if that is what I had suggested.
These were the easy, entertaining, safe, and helpful activities I had two curious kids help me with in the garden:
- Watering the balcony garden;
- Spraying aphids with potassium soap spray (non-toxic and easy to do);
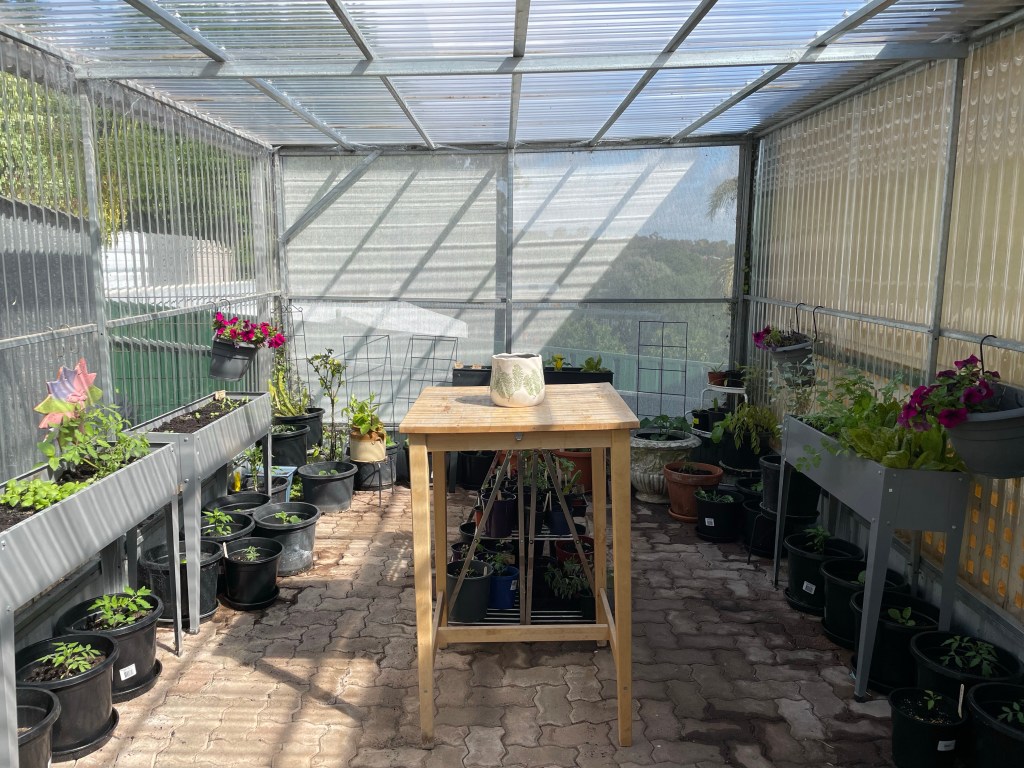
- Watering the greenhouse plants with liquid fertiliser (again, non-toxic – I did the measuring out and he did the watering);
- Watering all the pot plants in the patio;
- Planting broad beans and lettuce seeds;
- Hand-pollinating cucumbers and eggplant;
- Feeding the chickens and collecting the eggs (a perennial favourite with kiddos).
After watering – we used watering cans, not hoses (we have learned from experience!) – we spent time showing them how to hand pollinate different plants. They were fascinated that some plants need a male and female flower (cucumbers, zucchini, pumpkins) and some plants are buzz-pollinated (eggplant, capsicum, chillies, tomatoes). They loved feeling the spiky-soft cucumber leaves, and were interested in how droopy they were because they needed water. After we showed them how to buzz pollinate an eggplant with an electric toothbrush, and hand-pollinated the cucumbers, we looked around the garden at other plants that have different pollination methods.
I think it is so helpful for kids to see how the plants they eat are formed and grow. My nibling was fascinated by the cucumber plants, and searched out the baby cucumbers among the vines. They were very interested in the different types (I am growing three different varieties at the moment), and the fact that homegrown cucumbers have little spikes – so different from the smooth cukes they are used to from the supermarket.
After hand-pollinating the cucumbers (and a promise they could come back to see the growth later in the week), we moved on to planting seeds.
I chose to plant broad beans and lettuces with them because the seeds are so different. Broad beans are large (larger than a child’s fingernail) and lettuce seeds are tiny. Lettuces also often have funny names, and these were no exception: Flashy Trout Back and Great Lakes. It was a good experience for the kids to plant the broad beans as deep as their knuckles (or phalanges, as my nephew informed me, lol), and then lightly sprinkle the lettuce seeds on top of the soil and lightly cover with seed-raising mix. Planting seeds of different sizes helps kids to learn about biodiversity.
My kids are grown up now, so it was lovely to spend some time outside with young ones. I got to show them some of the crazy veggies I picked this morning, like the bowlful of Tromboccino zucchini. I had them guess why they were called that, and pretended to play it like a trumpet – uber daggy – but that is what crazy gardening aunties are allowed to do.

Tips for involving kids in the garden
- Plan activities that kids can do – think about their age and abilities. If a child has a disability, plan activities they can manage, or make the task accessible for them.
- Remember, safety first – don’t have them using power tools!
- Choose activities that are fun and keep their interest. Plan specifically for the child you will be spending time with. Some kids might enjoy weeding, while others will complain mightily about that task. A couple of autistic kids I know (including my own) love weeding and will happily do that for ages.
- Plan a list of short, active tasks with a quick reward or payoff. Kids (and tbh, many adults) will be more engaged if they can see the results of their activities – for example, watering, planting, or picking. I did not get them to pick zucchinis today because a knife was required for that task.
- Stand back. While some tasks need you to closely supervise, it’s best to give them the space to try things independently. Because we chose safe tasks, we could take a step back and give them the space to do the tasks themselves.
- Split them up. We had a 1:1 ratio of adults to kids. These are two well-behaved kiddos, however any kids can bug each other after a while. For some activities, we split them up. For example, one kid watered the balcony and another the greenhouse. That kept water horseplay to a minimum. For planting and pollinating, they came back together.
- Don’t forget to break up the time with cold drinks, ice blocks or fruit, and chats. We always keep a stash of juice ice blocks in the freezer for when they visit.
- Remind them to wash their hands after gardening and before eating and drinking if they have been in the garden. Soil is full of microorganisms that can carry nasties.