After a month of busyness, both personal and professional, this was the first weekend I had two full days off, and I chose to spend them doing my favourite thing in the world: gardening.
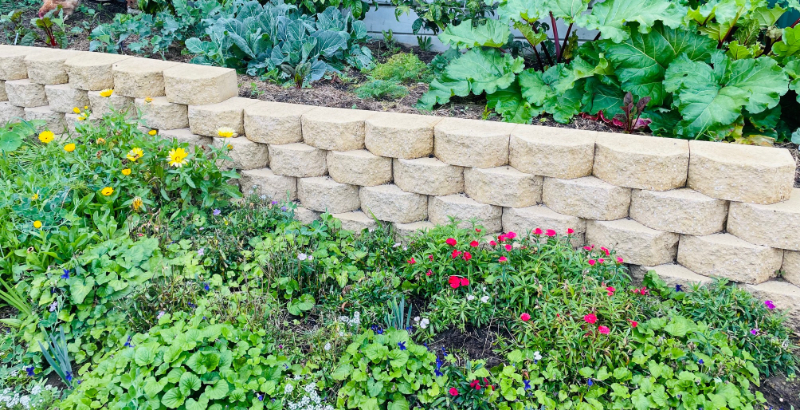
On Saturday, I spent the whole day in the backyard, tidying up the veggie patch and pottering about in the greenhouse, repotting plants and generally having a lovely time. After a month barely spending an hour or two a week in the garden, it was a blissful time. I downloaded hours of gardening podcasts (local and international), and listened to various gardening experts natter on about compost and fruit trees and rainfall. I picked four cucumbers, half a dozen beets, some spuds, a handful of green beans, and an armful of rhubarb from the monstrous rhubarb plants that appear to be untameable. Nothing could have been better.

The only way to demonstrate the size of the rhubarb is to show my hand on a rhubarb leaf. That is one leaf, and my hand. Admittedly, I have fairly small hands, but even so. I picked about two kilos of rhubarb, cooked it up with some blueberries and frozen cherries, and made a pretty great rhubarb cordial. And I still have half of it in the fridge. Lawks, as Nanny Ogg would say. I only picked some of what is out there. Might have to make some jam next weekend!
Rhubarb leaves are toxic of course, so I don’t feed them to the chooks, but it is great for compost. Not sure why, but my compost always speeds right up when I add rhubarb leaves to it (I also find that pineapple bark and cores are spectacular for compost, but I assume that is the bromelain).
I planted out a bunch of seedlings I have been raising in the greenhouse: sunflowers, okra, and more capsicums. I think the veggie patch is officially full. It is starting to look lush and gorgeous, with a mix of beautiful green veggie plants of all kinds and flowers such as cosmos, petunias, alyssum and calendula creating a colourful display and attracting the bees. Sunflowers are on their way, which is always very exciting to me – I just love their cheerful colour.
We are almost at that exciting time of year when all the veggies we eat come straight out of the garden. That is my favourite, favourite time of the year. Last night’s dinner was soft tacos, with black beans and jalapeños, roasted potatoes, beets and broccoli, served with cucumbers and tomatoes. Everything but the broccoli and tomatoes came straight from the garden. I heard a podcaster today say that there is a name for the flavour profile of food from your garden: ‘smugness.’ Classic.

Speaking of smug, check out these flower trusses on the Riesentraube tomatoes in my greenhouse:

This prolific flowering is a feature of the Riesentraube, according to the tomato bible, Amy Goldman’s The Heirloom Tomato. She writes the Riesentraube (which is a cherry tomato) “sets fruit on large sprays bearing as many as three hundred flowers and buds, although only 10 to 20 per cent of the blossoms bear fruit.” It’s certainly the most prolific flowerer of the tomatoes this year, although I’ve got to be honest, the crazy flowering is not why I grew it. I just liked the name: Riesentraube. It means “a giant bunch of grapes” in German. I picked it out of a seed catalogue for that reason alone.
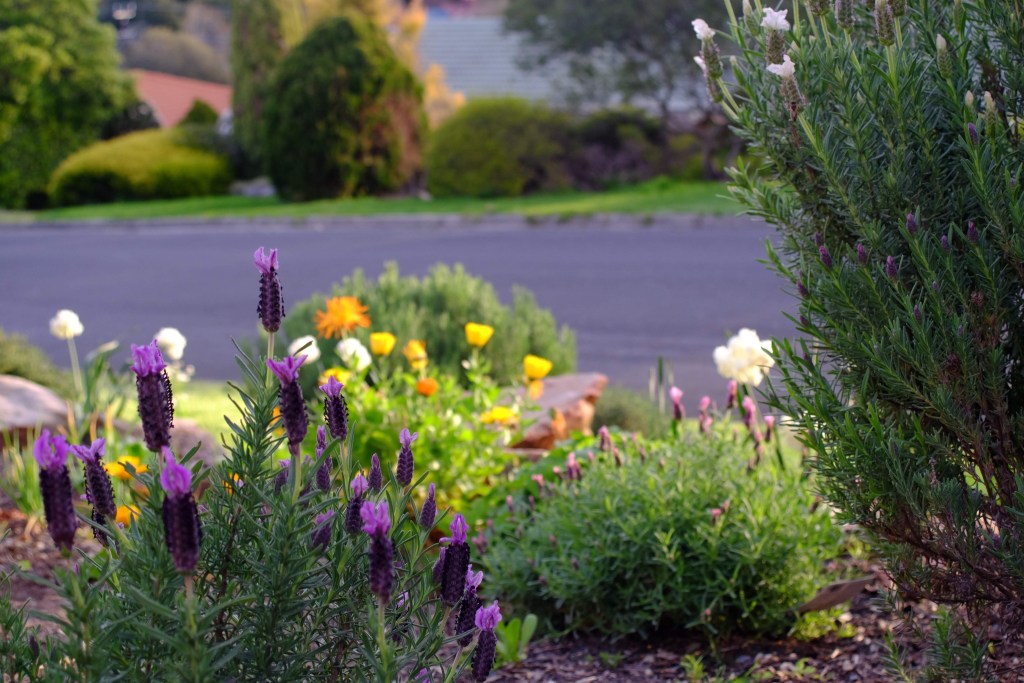
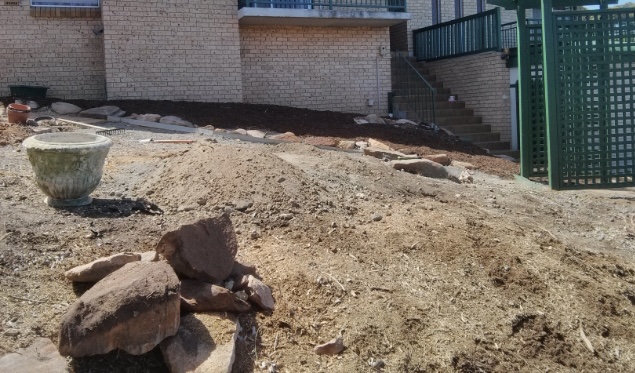
Today (Sunday) I determined to tackle the much less fun, but important task of tidying up the front yard in time for Christmas. We are hosting this year, so it did have to be done. The Spring flush is over, and many plants required deadheading and generally tidying up, especially a Pineapple Sage bush that had never been trimmed and was nearly as tall as me. I actually don’t mind these tasks, but if it is a choice between playing in the greenhouse or deadheading the roses, I know what I would pick. Happily, as I had both days this weekend, I could do both!
Salvias and sages should be trimmed annually, but ideally not this time of year – that is a bit naughty of me. Wait until Autumn preferably, and give them a really good haircut then. I just did this one because it was looking very ratty and it has not been too hot and dry this season. Don’t be like me – give salvias a prune in May, not December.
I even started weeding the pavers – now that is a job that is bloody boring and no one should have to do. But I did make a start, and I have to say, it already looks much better.
I rewarded myself for my hard work by spending a last half an hour planting some seeds: dill, zinnia, bush beans, more zucchini (Rondo de Nice – a funky round zucchini that is just fun to grow), and some cos lettuce. Yes, I know I said the patch was full, but these are just in case. And just because. I’m sure I’ll fit them in somewhere.