The long hot, El Nino-dominated Summer we were promised has not really eventuated: instead we have been hit with a coolish, damp, stormy season – more reminiscent of the sub-tropics than the warm temperate climate we are used to in Southern Australia. I feel like the weather has not honoured the bargain I make every year: I agree to put up with the cold and wet from late Autumn until mid-Spring, and then I am rewarded for my (admittedly grumbling) forbearance with a lovely warm Summer in which to bask. I guess climate change is making fools of all of us, and there will be no more handshake deals with the weather from now on.
There have been some benefits and downsides to this lower temperature, wetter Summer. The benefits are obviously more water around, which has kept trees and plants hydrated well into January. My garden looks lush. Usually by mid-Summer in our area, things are starting to look a little dusty. This year, the extra water, followed by bursts of warmth, has led to heavy, lush growth, so my backyard resembles a little jungle of tomatoes, squash, and beans. I have never had a bean crop like I have had this year! Obviously, I have been too stingy on the water in the past – if I want to replicate the results of this year, future me will need to increase the water ratio in the veggie patch.
Apricotapalooza
We also had the largest apricot crop we have ever had. I think that is both due to the abundance of water, and a heavy late-Summer prune my husband gave the tree last year. We had about 200 kg of apricots from our one Travatt apricot tree. It was delicious, amazing, and overwhelming. We gave away about half the crop to friends, family, and neighbours. We preserved them, jammed, dehydrated, stewed, and ate them fresh. We made ice cream. We ate apricots until we were almost orange. At one point, I called my sister, begging her to come and get some apricots. She popped around to take some off my hands and took some for her friend as well. It was a great problem to have, but seriously, it was a bit overwhelming.
To save the crop from the wet weather and the parrots, we had to pick them as soon as they started to blush. Apricots continue to ripen off the tree, so it is fine to pick them a little underripe, and it is also preferable to preserve them when slightly underripe.

It’s Tomato Town

Just as the apricots finished, the tomatoes have started to ripen. This year I grew four main varieties: Riesentraube (a cherry tomato), Green Zebra (my favourite heirloom, green and yellow striped, sweet and tangy), San Marzano (an heirloom saucing tomato), and Mysterioso – a tomato I grew from saved seed and had forgotten both the colour, flavour, and name of. Now that it has fruited, it appears to be a Black tomato – possibly a Black Russian, a lovely black ribbed beefsteak tomato that is sweet to eat and can grow as large as my hand. We are eating tomatoes every day for multiple meals – on toast for lunch, with pasta, in salads, as salsa. When the San Marzano ripen, we will make sauce.
The tomatillos have also started to ripen. Tomatillos are also known as husk tomatoes, although they are not actually a tomato. They look a bit like a cape gooseberry: they grow with a lovely papery husk around them. On the bush they look pretty, like little paper lanterns.

Once ripe, the husk dries off and they are ready to pick. Peel the papery husk off (the fruit feels sticky once peeled, so do not peel until you are ready to use) and wash before making salsa verde (green salsa). I’m currently testing different recipes to see which is the best way of cooking these. They are incredibly prolific. I have about six plants and they are going off. I intend to can as much salsa as I can for the later months. We eat a lot of Mexican food.
Mulberry Success
After five years of disappointment, our efforts with the mulberry tree have been rewarded by an actual mulberry crop! It’s not a big enough crop to make mulberry jam or anything like that, but we are picking about a cup of mulberries a day at the moment. Unlike previous years, the mulberries are fat and juicy. When we pick them, the juice runs down our hands. I put this down to diligent watering and feeding over the past year.
Thanks to the prolific veggie patch and fruit trees, we have not had to buy any veggies or fruit from the supermarket, except mushrooms, onions and potatoes for over a month – not a bad effort at all!
This weather has also caused problems though. The storms, rain, and wind, followed by warmth, are a perfect breeding ground for powdery mildew on squash, zucchini, and pumpkins. I have had to pull out vines just as they start to produce because the mildew has taken over. I can’t manage it with usual fixes (Ecofungicide, diluted milk spray). The weather is also causing plants like zucchini to produce only male flowers or only female flowers, creating pollination problems. And the cold-warm-cold weather is wreaking havoc on hot weather loving plants like eggplant, that are taking forever to produce anything at all. So while the green beans are happy and producing, I have sulking eggplant and mildewy zucchini. A vegetarian can’t live on green beans alone!
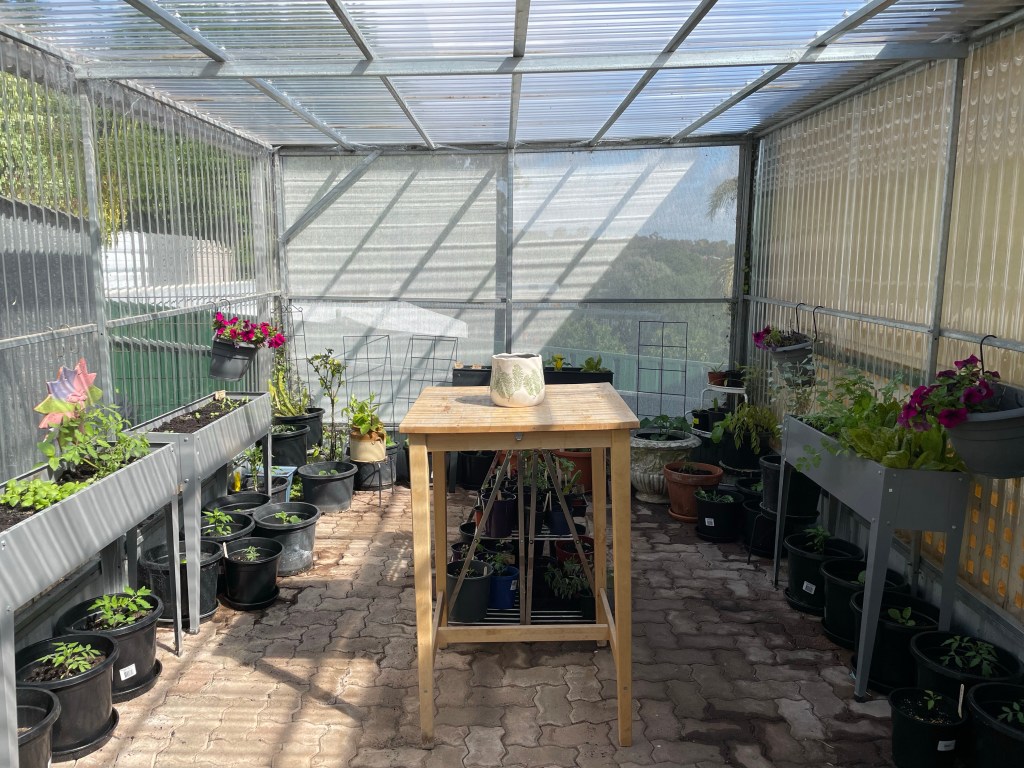
I’m choosing to see the positives. I think we can expect a longer period of this weather, heading into March and April. So, I am planting up another batch of cucumbers, squash and zucchini seeds to take the place of those I have already lost to the powdery mildew – I think I will have a good chance of a second crop. I have sought out some seeds of varieties that are supposedly more resistant to powdery mildew to see if they can last out the season – I’ll report back how they do. I intend to keep the greenhouse going in tomatoes, chillies, and cucumbers as far into Winter as I possibly can. In a few weeks, I will also start my seeds for brassicas for Autumn and Winter. Last Season wasn’t really productive in terms of the broccoli and cauliflower, so I have plans for different varieties, and also for a lot more root crops next season because I know these always do well in my garden – lots of turnips, swedes, and parsnips.